PAINTING PAGE
CLICK ON THUMBNAILS TO ENLARGE THE PICTURE!
6 December:
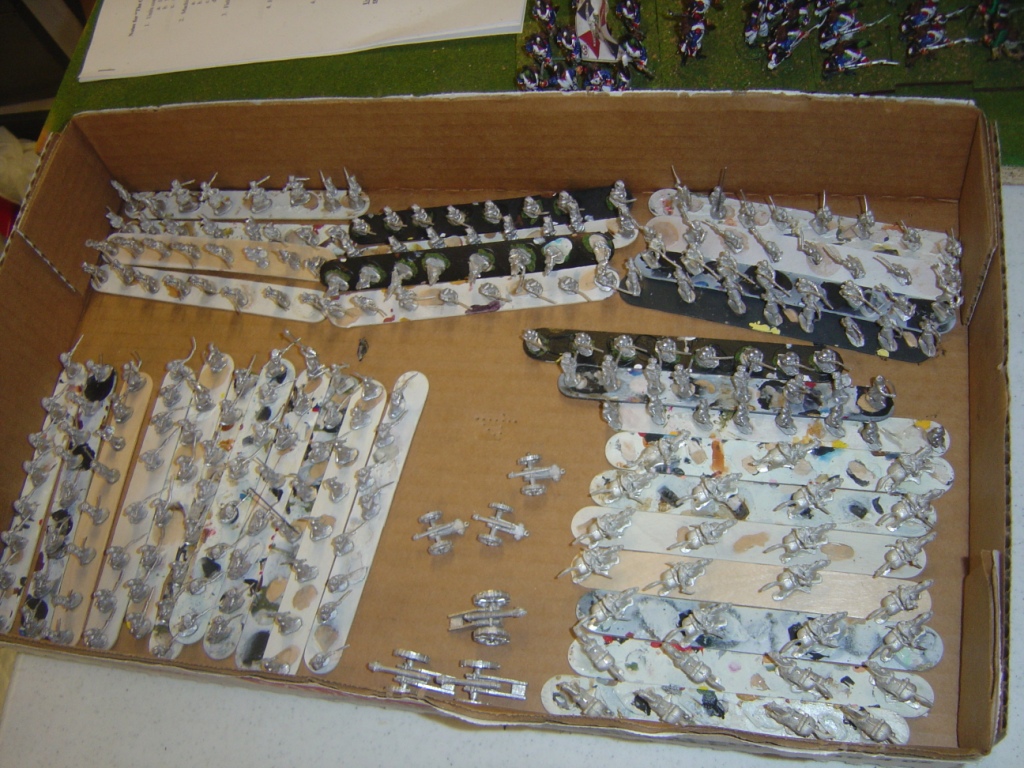
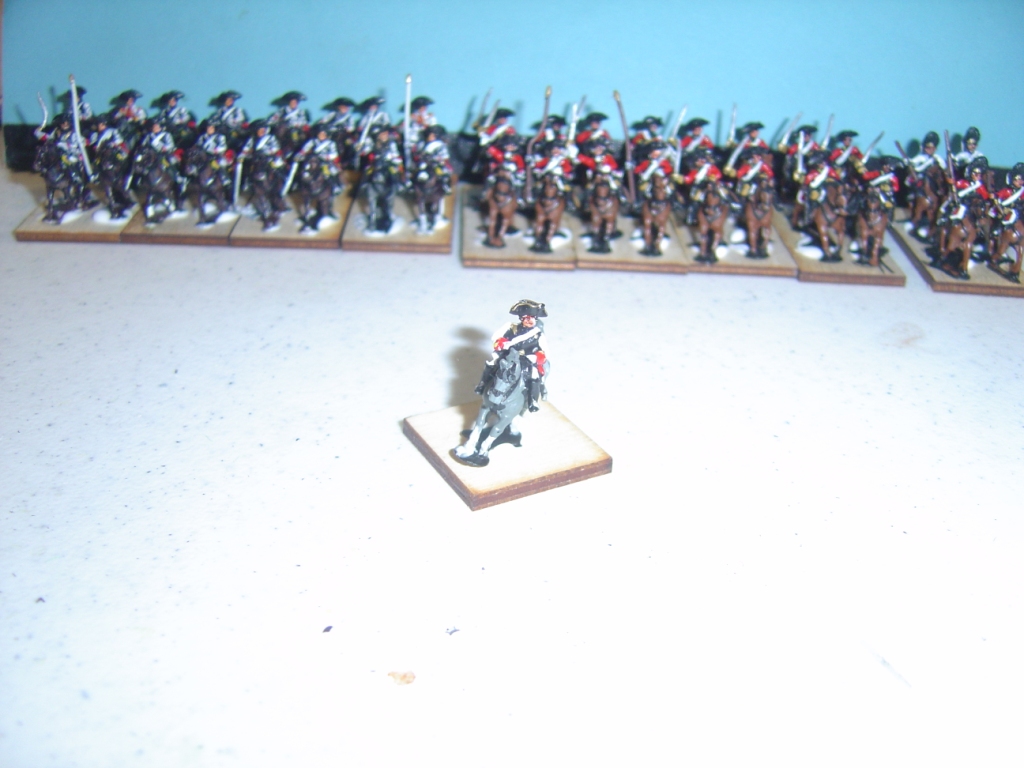
I had a bunch of (ok, who doesn't) of unpainted figures. On a whim I decided to paint up some 15mm SYW Austrian Cavalry. It took me four hours from cleaning and priming (included the drying time-which I sped up by using a hand-held hair dryer) to basing for Koenig Krieg rules.
What do you think?
I primed the cavalry along with a
bunch of other figures, my normal procedure.
 _
_ _
_ _
_
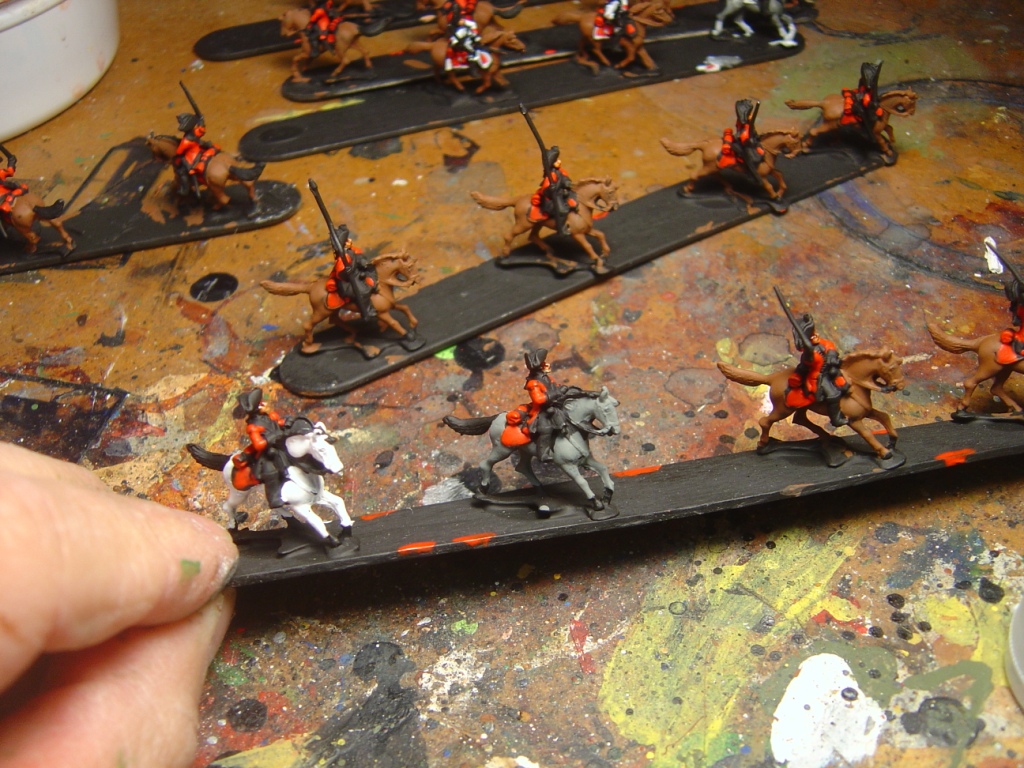
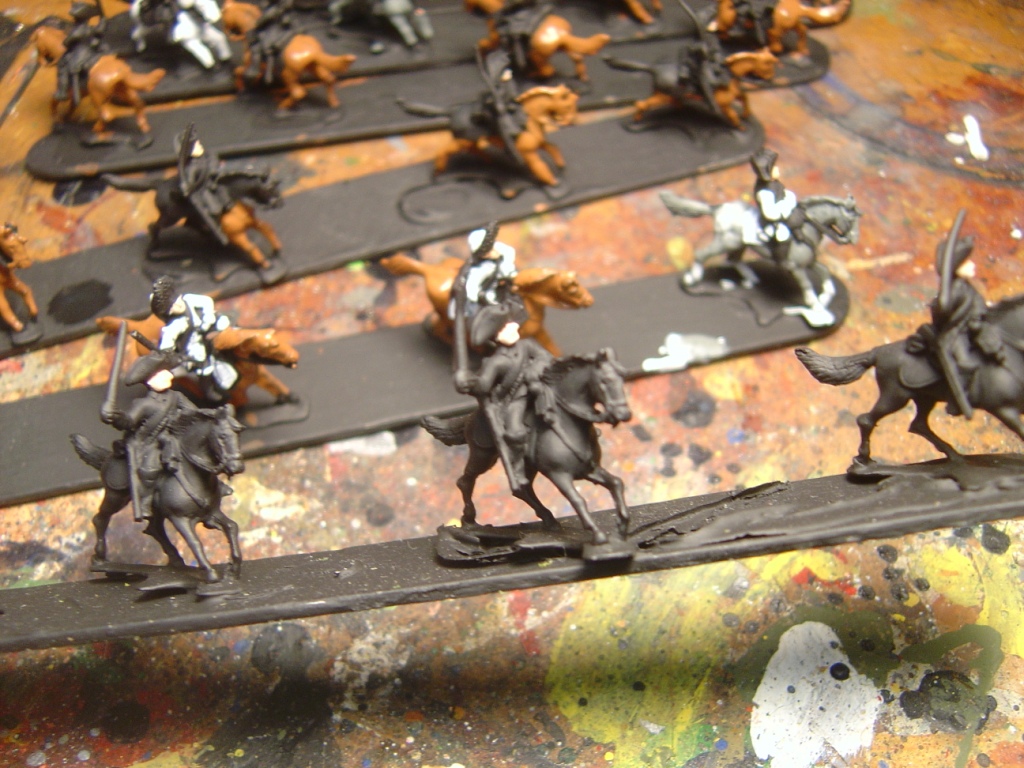
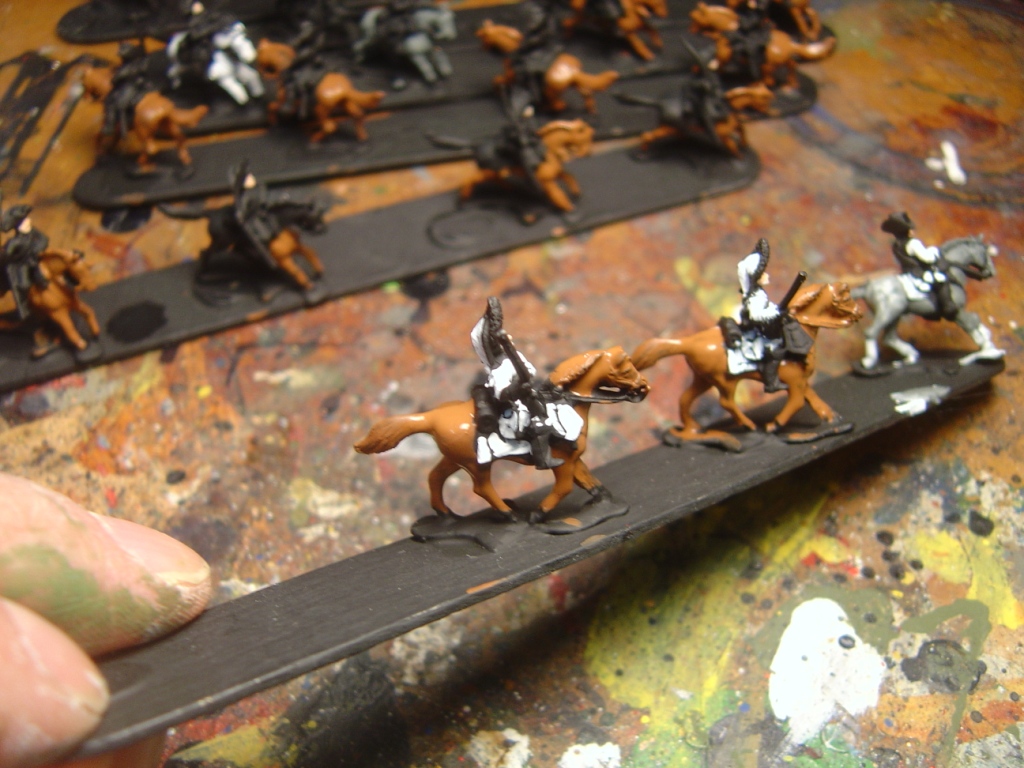
I then painted the figures, step-by-step.
![]()
This Horse Grenadier regiment turned out ok, don't you think?
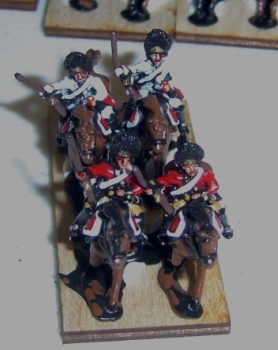
Horse Grenadiers, detailed pic before flocking the base.
_____________________________________________________________________________________
_____________________________________________
Here you can see some of the projects I am working on. From time to time I will post some of the things I am painting and offer some insight in my techniques. Now, I am not the expert in all this, but I may be able to show you some things that you may have not seen before. Don't forget to click on my speed painting technique link on the Outland Games Home Page!
I will update this page as soon as I can.
If you want to look at the
speed painting page, go here:
![]()
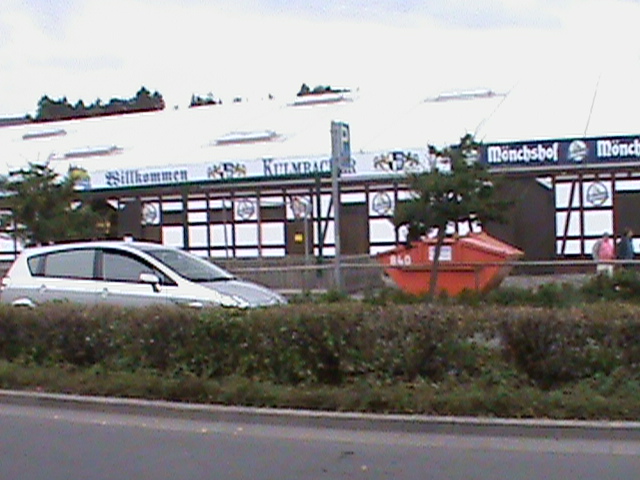
Well... I managed to get to the Tin Figure Convention (In German these are called Zinn Figuren) this year. It was amazing!
Here are some pictures of the show.
.jpg)
.JPG)

There must have been a few thousand attendees. It was in a giant fest tent in the middle of the town of Kulmbach.
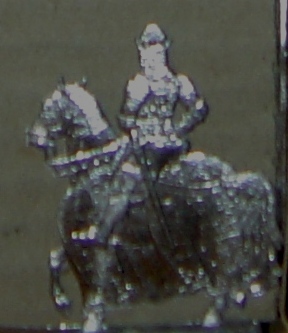
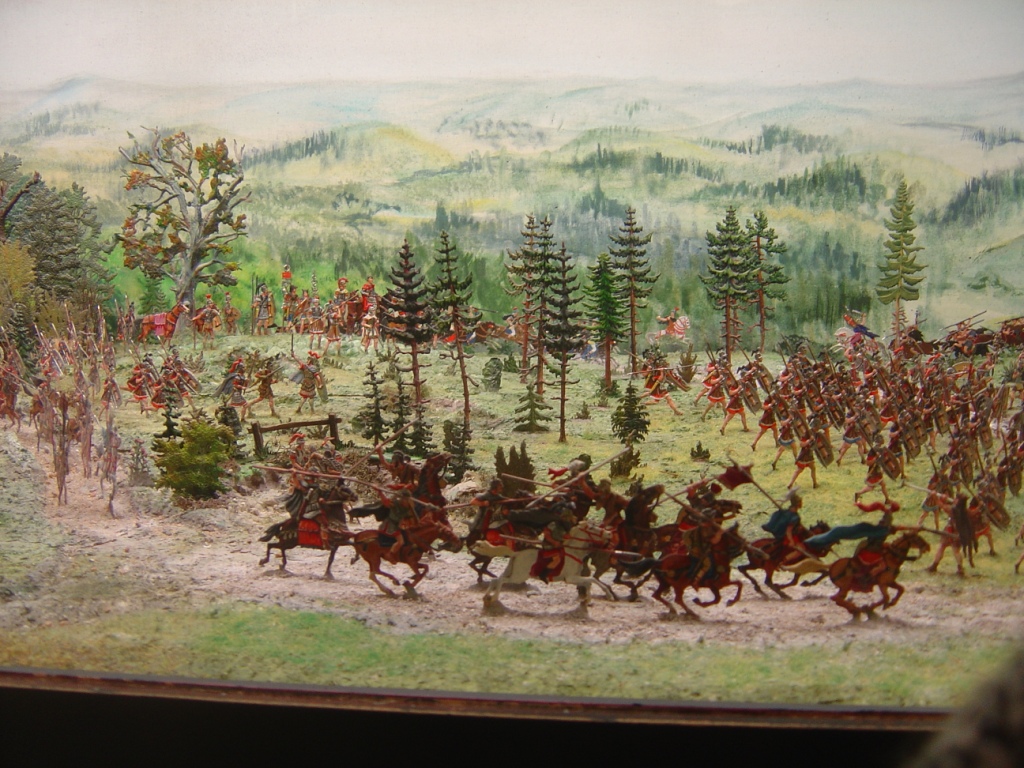
It is hard to convey the absolutely stunning artwork I saw there. The figures available were not only flats, but also three-dimensional. Here is a 90mm set that really blew me away.

Many vendors display their flats that are available in glass cases.

Here is a vingnette of the time Frederick the Great made fun of a Croat who was about to shoot him. The King belittled the skirmisher, claiming he had forgotten to put powder in his flashpan. The Croat, stunned, looked down to check. Frederick took advantage of the short lack of attention to make a clean get-away.

The show also had a number of displays for competition. The best of show was a French infantry square. Keep in mind these are 30mm figures and flat! It was stunning to see!


Nearby to the show is the castle of Plassenburg, where it just so happened to be a display of uniform and equipment from Frederick the Great's Army. I saw some great details that we seldom get to hear about. The most interesting part were the military flags on display. Almost all of these originals from 1717-1767 were well preserved. What struck me was that many were hand-painted, not embroidered. Thus these did not have neat, crisp lines, much like a computer printout sort of flag would be. I like my flags to look hand-painted, therefore I offer the same look in my flagsheets.
I also found the Grenadier and Fusilier mitres quite interesting. Each had a one-of-a-kind face plate design.

.jpg)
.jpg)
At the Kulmbach Tin Figures Show, I only got some of what I really wanted to get...it was like a figures buffet there. So I settled on getting a selection of different periods and types of flats.


I started on those Persian infantry right away. Here is what I did:
![]()
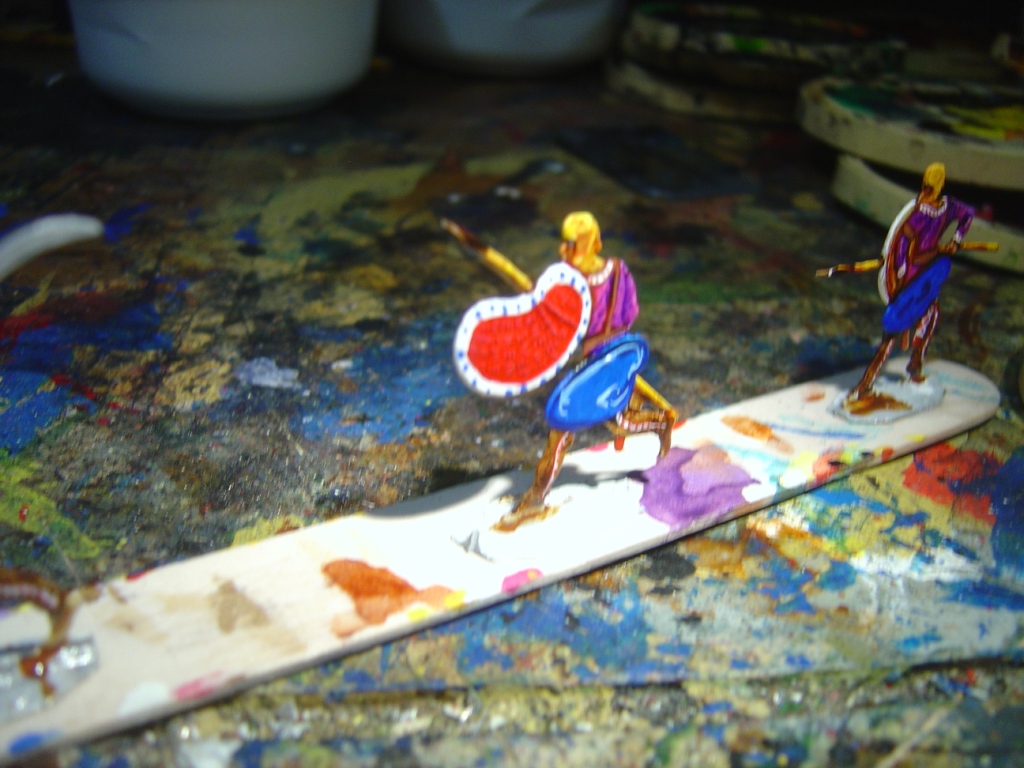
I did not finish these, as travel and work keep me from my hobby (WOW, reality keeps me from my hobby, who would have thought?)
Let me know what you think!
By the way, I got my hands on this cheap, battery-operated grinding tool. It provides about 80% of my flash trimming needs. I recommend getting one! It sure saves a lot of time.
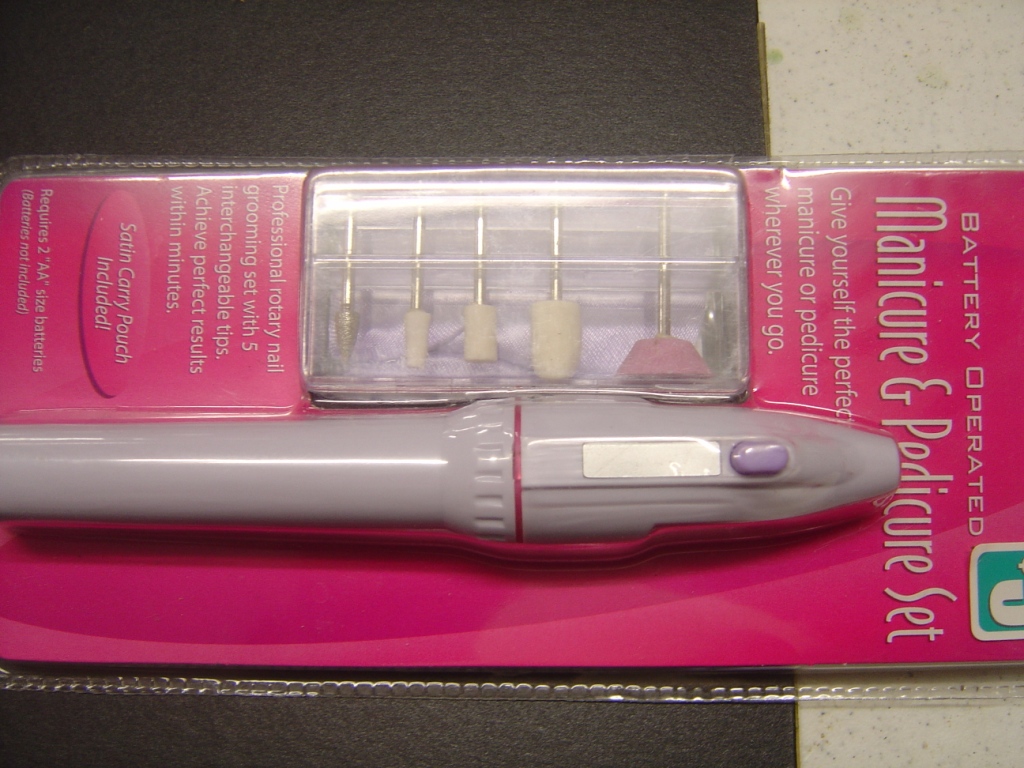
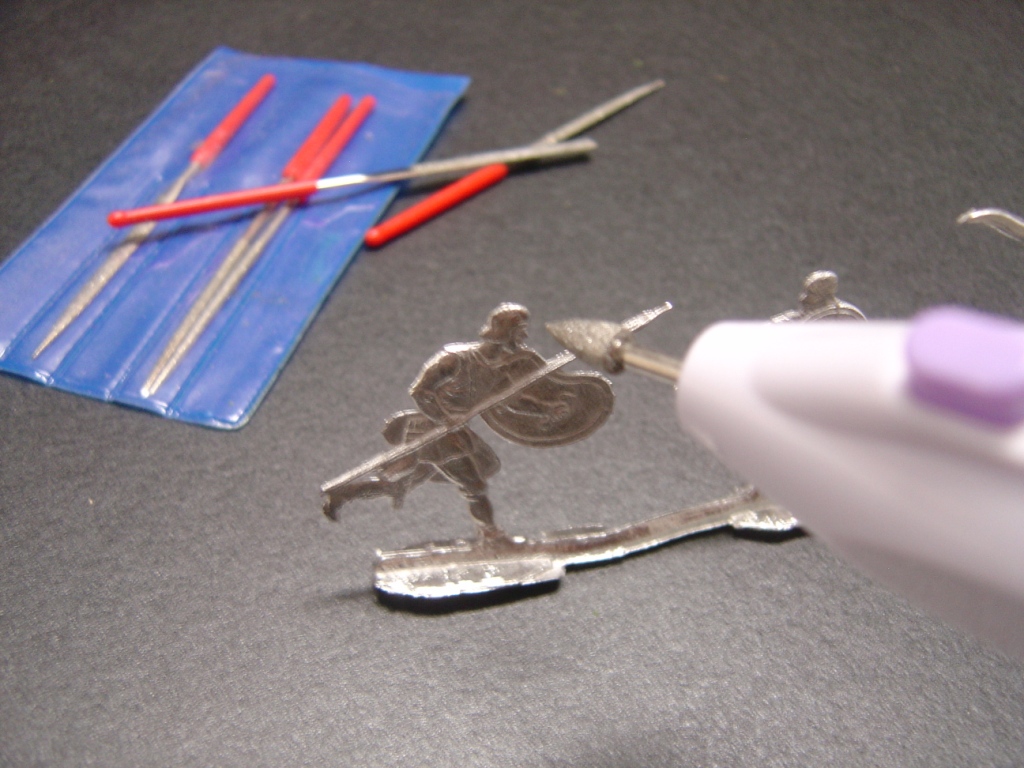

I used to trim the bulky flash and it worked great. I then used some small files to do the detailed trimming and cleaning.
____________________________________________________________________________________________________________
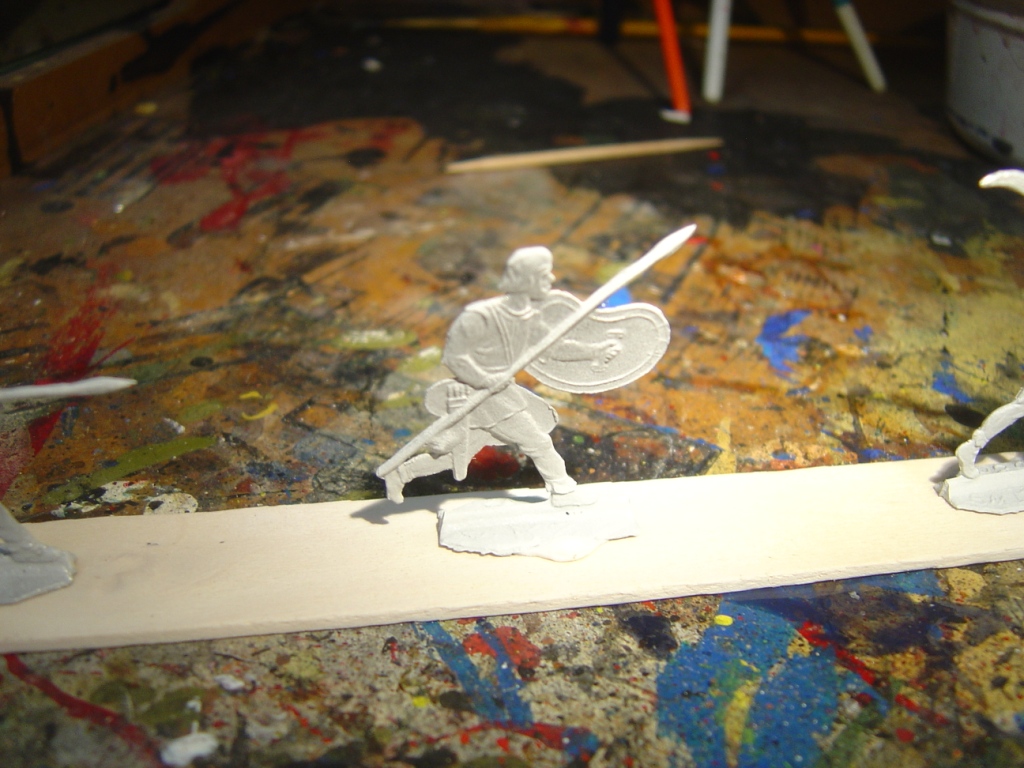
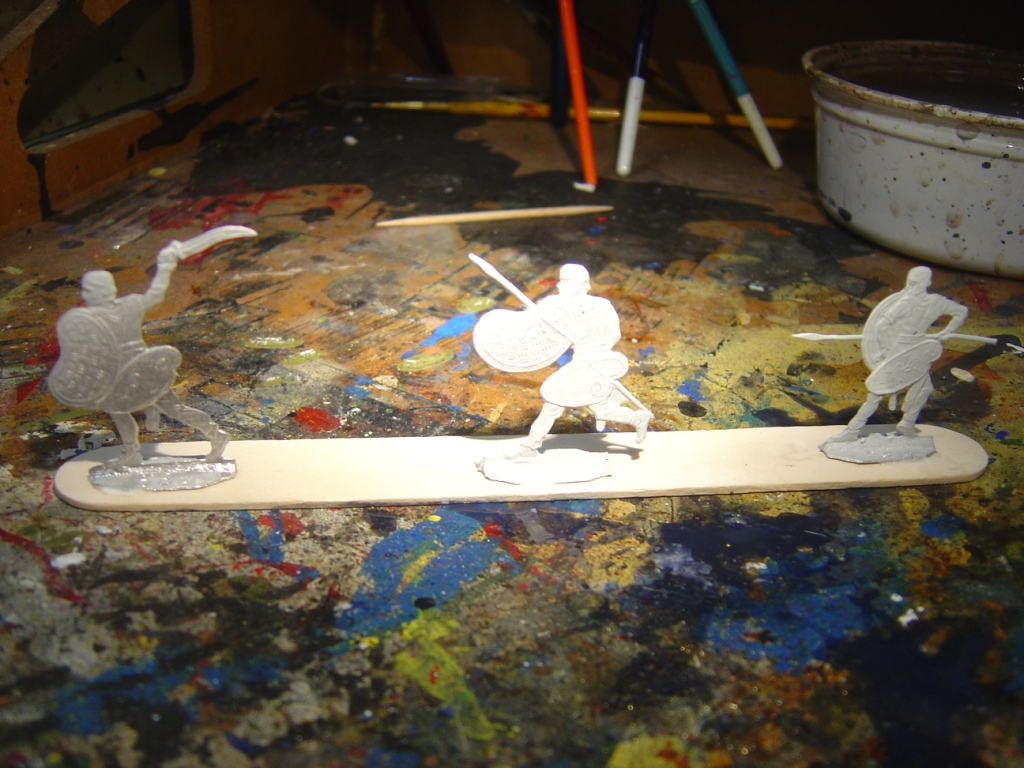
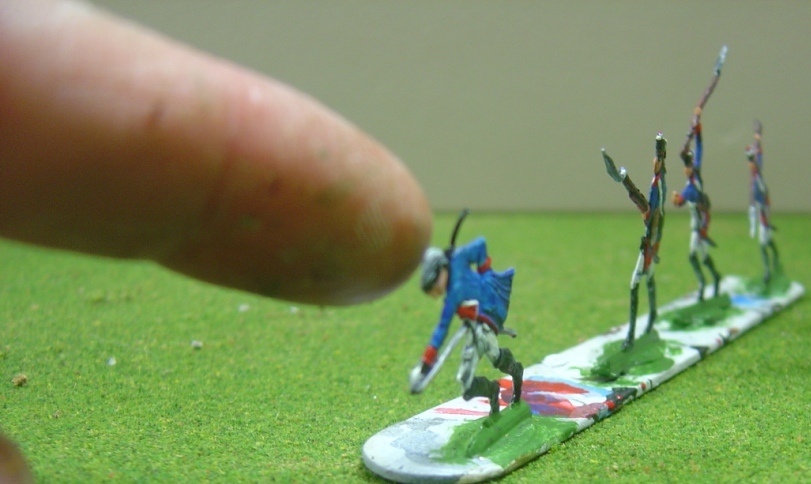
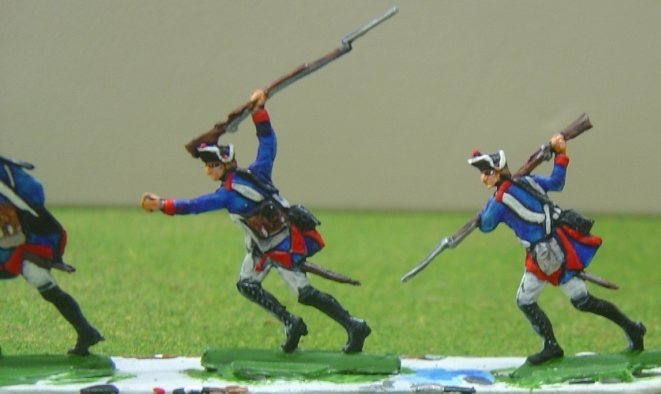
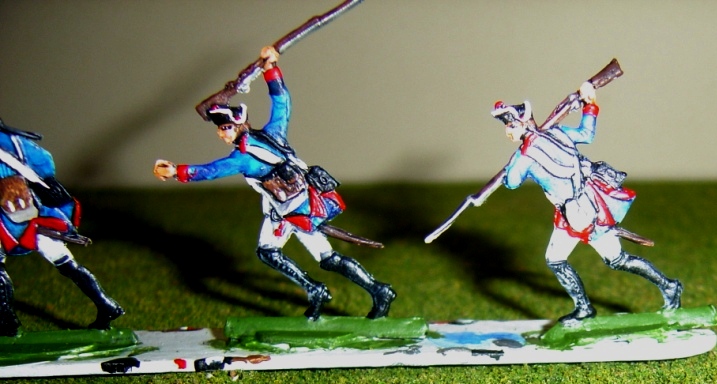
I started working those wonderful flats I managed to locate at a flea market.
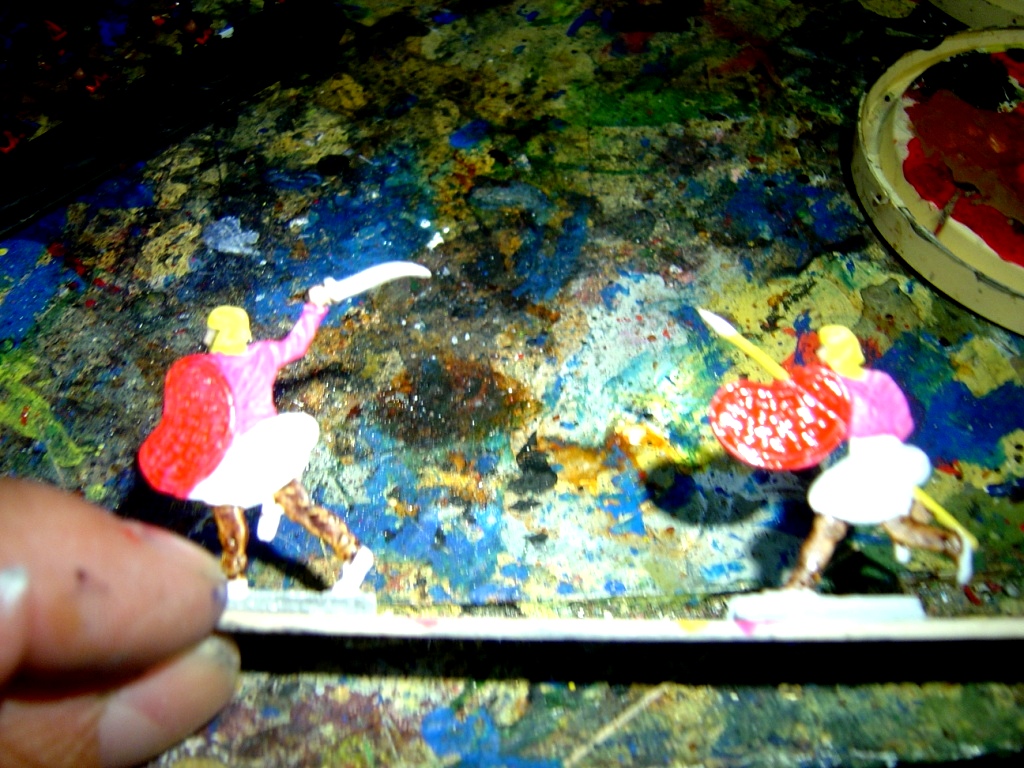
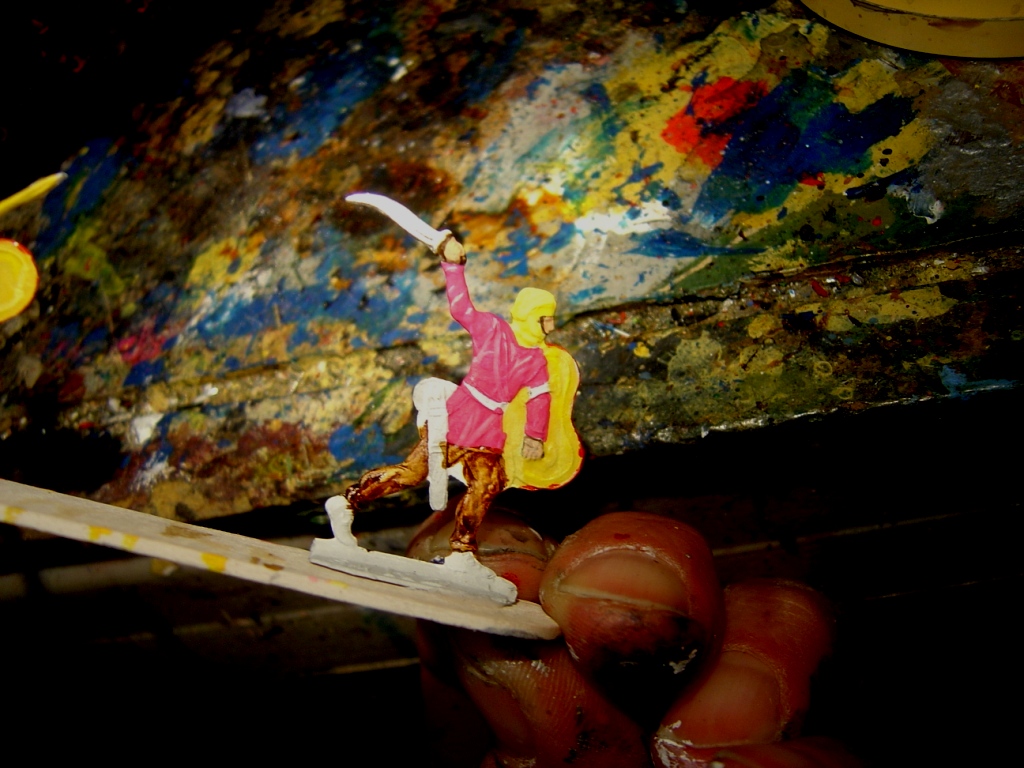
MAN are these hard to paint nicely. The trick is to paint up the figures in such a way as to produce a false 3-D look.
Click on the thumbnails to see more.
These are SYW figures. I think they were cast up before WWII...
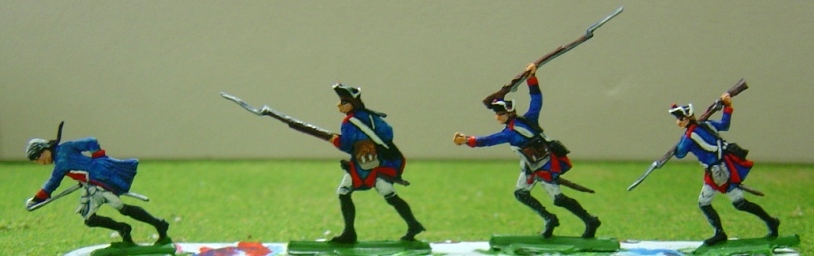
To get an idea of how these figures look, compare the picture above to the pictures below. Note how thin they are as seen from the front.

![]()
![]()
![]()

![]()

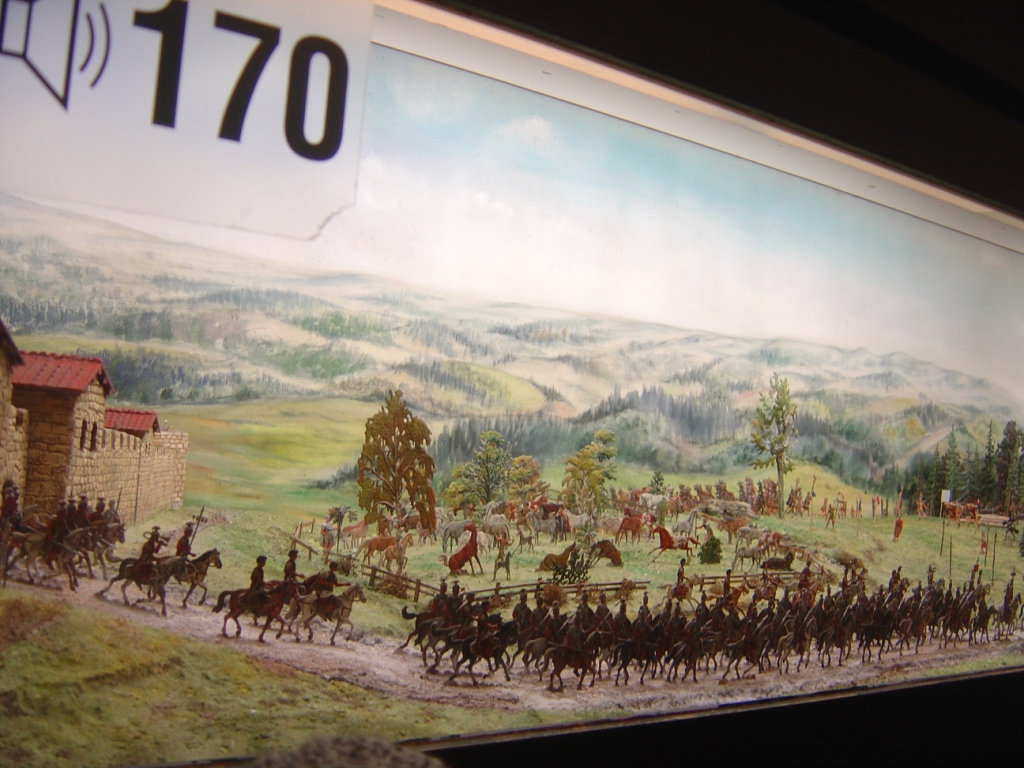
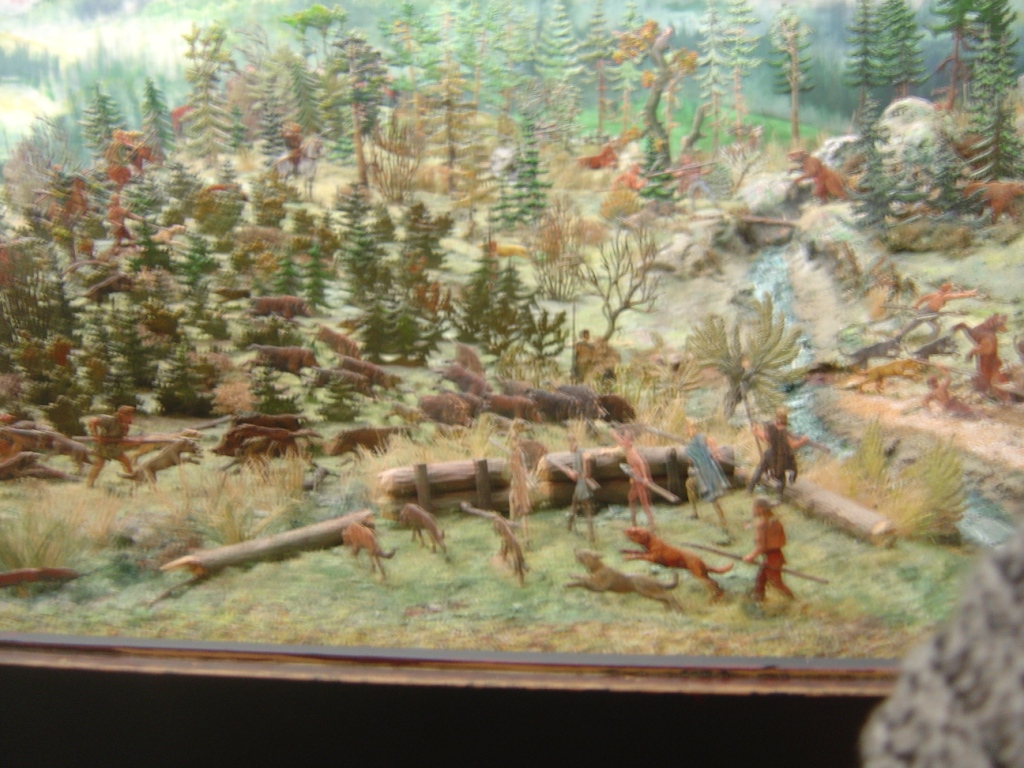
To get some ideas, I got a chance to see a collection of Romans and Germanics. This was in a roman border Fortress museum I visited.

____________________________________________________________________________________________________________
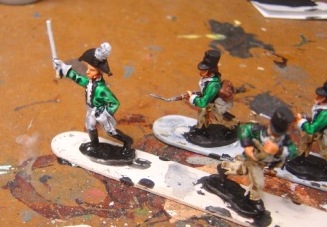
Here is one project that I worked on early in 2008: 1806 Prussian Light
Infantry in 25mm!
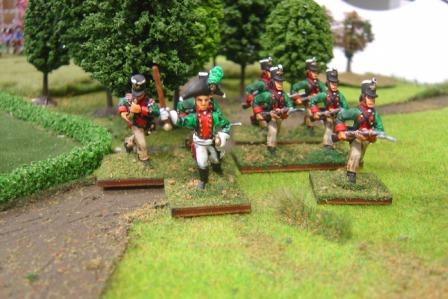
Here is what the look like all done. Below you can see how I did this:
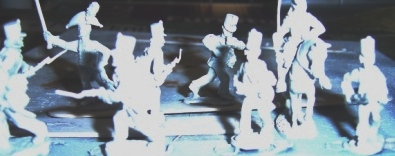
First I cleaned the figures, then glued them down on tongue depressors. Then I primed them in a matte white.
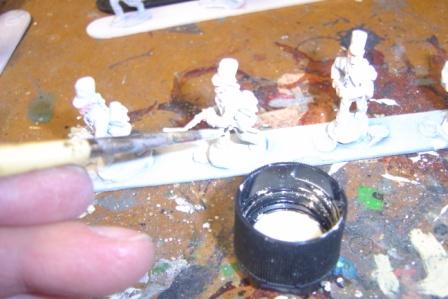
Here you see me adding a light tan to those areas I want to add an effect. The surface this way is more 'rough', for a technique I will show you in a little bit.
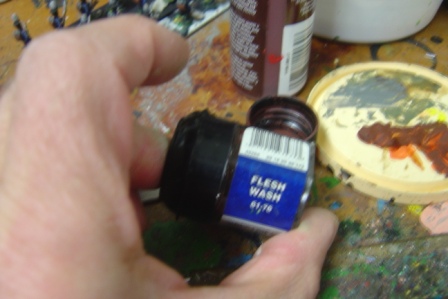
(I got to these three days later...):
I mixed a little of "flesh wash" with some flesh to get a darker tone of flesh wash. This I painted on the parts that are flesh already done up, letting it all run off into the lower areas. Then I did up a thin wash of green, painted it on really lightly. Then wash that with some dark green, really watered down.
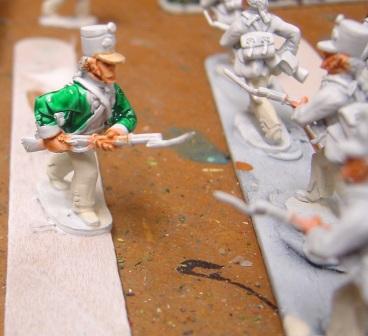
Next, I did some details, one item at a
time: brown for muskets, then black, then white, then touches. If I don't
get interrupted, I can knock out about 60 figures using these steps and
techniques in one afternoon.
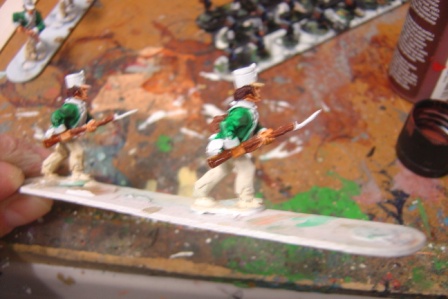
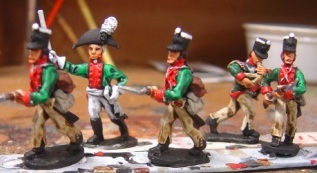
The finished 1806 Jaegers are here:
______________________________________________________________________________________________________________
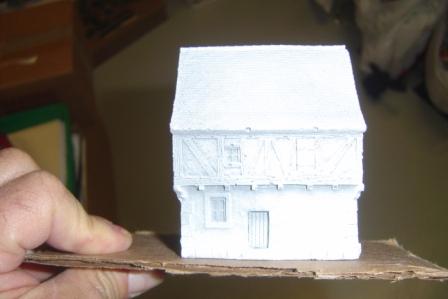
Another project is painting up my 25mm/20mm town for my games.
Here is how I painted a house. First I cleaned it up of flash and used some white glue onto cardboard. This allows me to paint the building without touching the actual building.
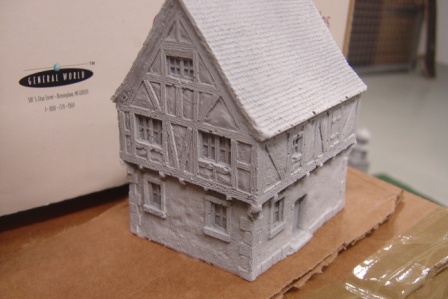 I
painted the house with an off white.
I
painted the house with an off white. 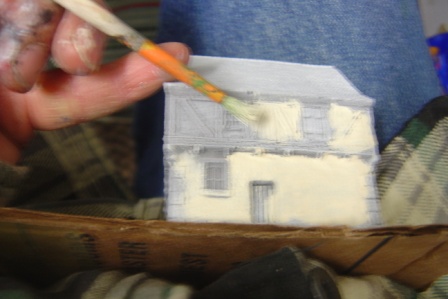
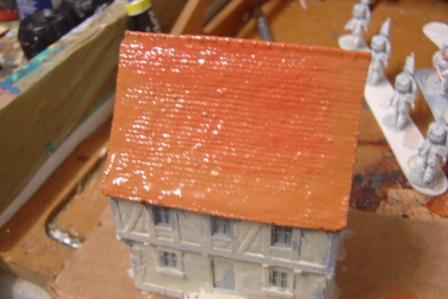
Then I paint the tiled roof in a
redish brown. My "old fuzzy" brush is great for this.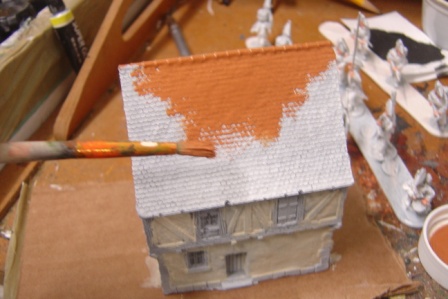
I
try to avoid any of the edges I want to paint later, in this case the
timbers....but since I will use a dark deep brown, it won't matter too much if I
cover some. I am pointing to that now.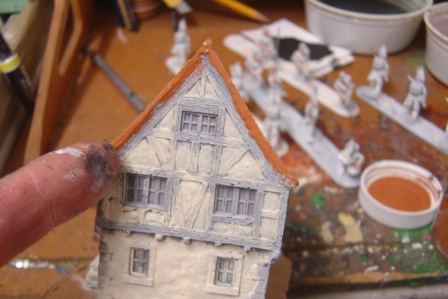
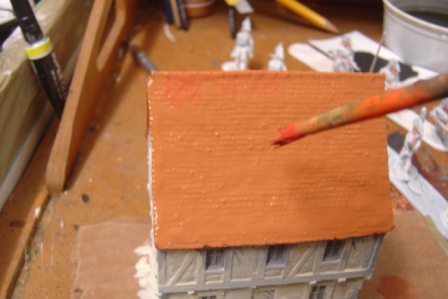
Then the roof is done, real fast, in fact. I let it dry and it looks like this:
 (I NEED TO ADD THE OTHER PICS - will
do so very soon)
(I NEED TO ADD THE OTHER PICS - will
do so very soon)
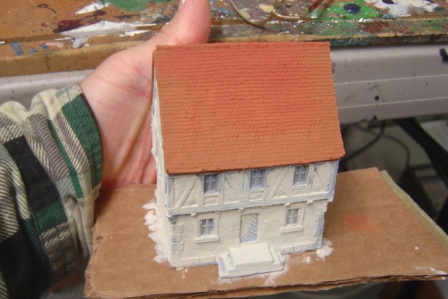
The finished building (on the right)
has dark timbers and light blue windows with white trim.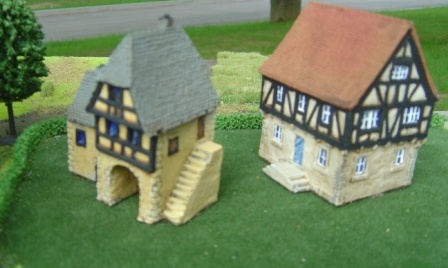
One of my villages looks like this:

I have posted some details about how to make terrain boards like these above on my "terrain page"
__________________________________________________________________________________________________________________
As soon as I can, I will post some of my medievals I have been working on.

(click to enlarge)
__________________________________________________________________________________________________________________
Return to Main Page:
![]()
![]()
![]()
![]()
![]()
![]()
![]()
If you have questions, email us:
Info'at'outlandgames.net
(replace the 'at' with an @ )